Here is a collection of Tips from advanced pin2dmd editor users:
taken from slippifishi´s post here http://vpuniverse.com/forums/topic/2268-pin2dmd-editor/?do=findComment&comment=46371
Global frame +/- shortcut
You can use arrow left and arrow right to frame forward and back – this will work globally, especially even after you have clicked the main DMD display, so you can now leave the mouse in one place, click to fill an area, then move to the next or previous frame without moving the mouse, so you can quickly fill the same area across multiple frames, even if the area is very small.
Tool size with the FloodFill tool
This one is magic. This has a couple of effects on different tools. First lets look at the paint bucket.
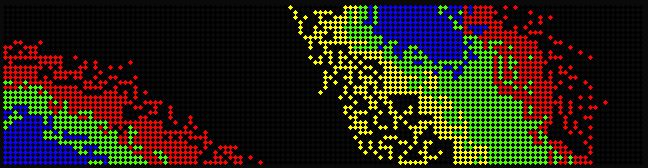
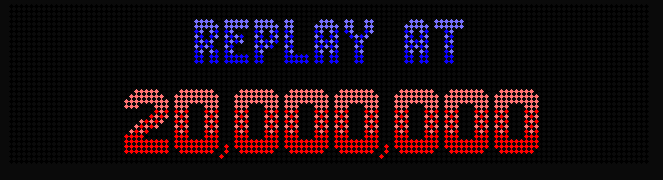
Consider this scene (set to colour mask mode) and palette – the the rest of the palette doesn’t matter, I have coloured it badly so it’s easy to discuss:
![]()
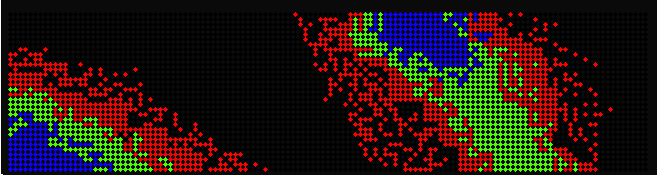
Pretend we want to replace red with yellow. Using the fill tool on the specified dot:
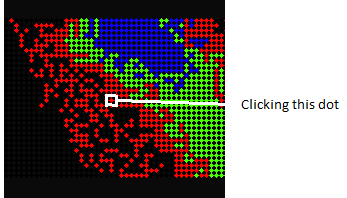
With a tool size of 1, the fill tool works like you expect. Dots with a matching colour to the one you clicked which are immediately above/below or left/right of the selected dot are filled.
With a tool size of 2, the fill tool will fill matching dots above/below, left/right and diagonally from the one you clicked.
With a tool size of 3 ind ColorMask or Smart mode – it replaces all colors within a color group with
colors of the new color group. This is especially helpful if you want to change all colors of a area which was colorized using a colormask.
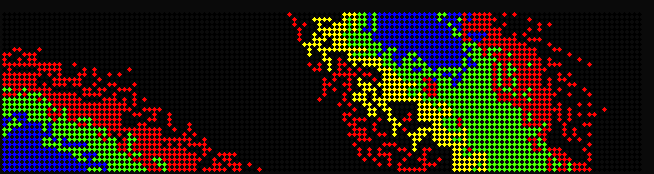
With a tool size of 4 (and above) the entire scene is filled – it replaces all instances of red with yellow, regardless of if they are touching or not.
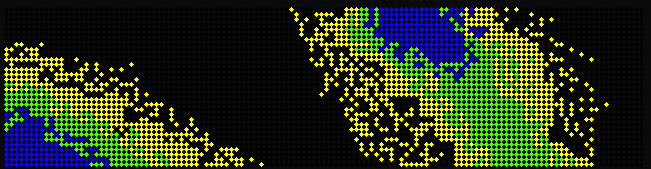
Remember you can safely switch between modes while you are using the editor to colour, so you can really use the above to your advantage in smart and colour mask mode.
Tool size with the line tool
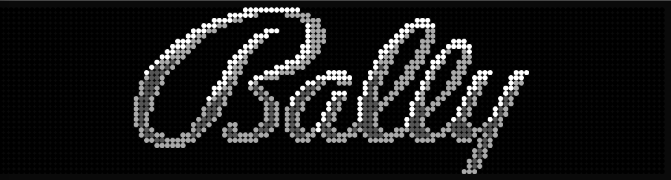
And lets look at how the tool size affects the line tool; this is my favourite change because prior to this I was doing this by hand, dot by dot, line by line, but it is arguably one of the best effects on these LED panels. First, an example of what this is good for. Imagine the following colour mask scene:
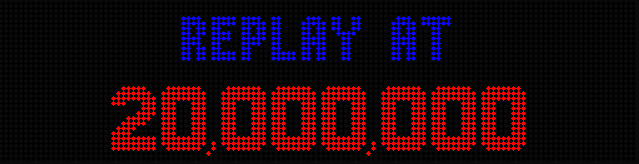
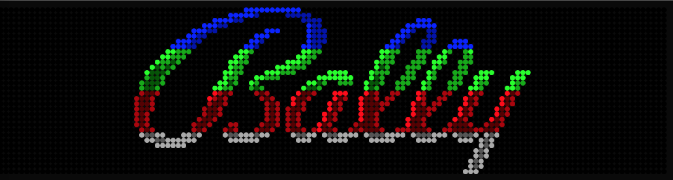
Pretty nice right? Now look at what happens when we add some dithering (I have adjusted the background colour and zoomed so you can see more clearly the pattern that has been drawn) and adjust the palette slightly
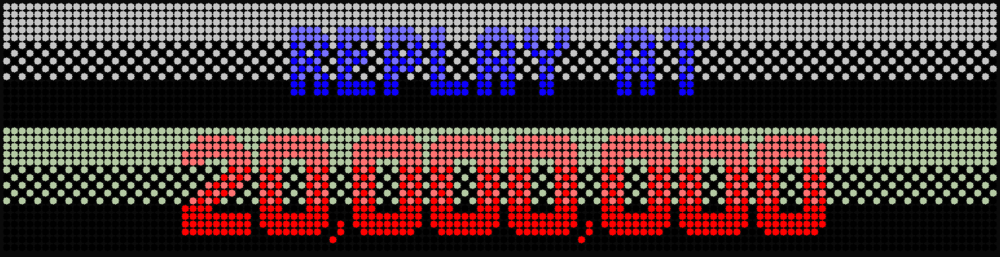
This leads to the following, which looks OK on a monitor, but on an LED panel, this is just the nicest thing to look at – your own eyes create the gradient between the colours and it is so smooth. I honestly think this is the single best thing I discovered in terms of making my colour projects look good, and I thoroughly recommend you try it out on any scenes you can spare the colours, it really shines.
In terms of the line tool; when the tool size is set to 1, then it behaves in the normal fashion. When set to 2 or higher, it will draw a line of alternating dots using the selected colour – this is how I will now achieve the above effect. The higher the tool size, the bigger the gap produced. It is hard to describe, but the tool always starts by drawing the blank part of the line when you first click. With practice you will get used to it. It means colouring the above mask takes 15 seconds compared to the several minutes you would need to do it by hand using the pencil or old line tool.
Tool size with the rectangle tool
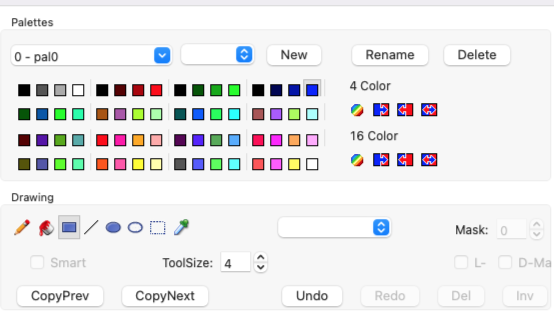
With the rectangle tool you can adjust the number of colorsegments used to draw the recangle using the toolsize. You just need select the topmost color and the rectangle tool automatically takes the number of colors below according to the number of segments. In the below example the blue in the 4th color block has been chosen and the number of segments (ToolSize) is set to 4.
This enables you to make out of this
this with one single rectangle.
Depending on the starting point of the rectangle the direction of the segments is assigned.
The above example rectangle has been started from the top left to the bottom right while in the below example it has been started from the bottom left to the top right. If you start from the right the sequence of the colors is reversed.