If you are comfortable with the techniques described in the chapters before you are ready to advance to the next level
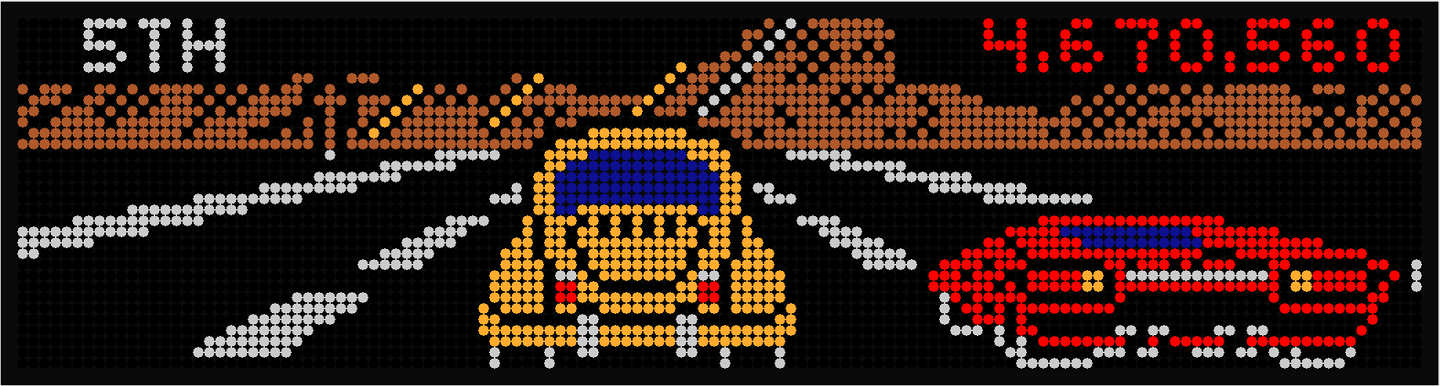
In some scenes there are multiple dynamic objects in almost endless combinations on the screen. A good example for these scenes are video modes, like the car race from Getaway HS2 we use in this example. It is impossible (or very time consuming) to cover all possible combinations of positions of the players car , the approching cars on the street and other objects in ColorMask mode. That is why we developed the ColorMask Layered mode. In this mode all objects in all possible positions are colored and keyframed individually and then combined together dynamically as needed. The first thing you need to do is collect all possible positions of the objects in a single scene.
To start a ColorMask Layered scene do the following:
- cut a single frame of the scene.
- switch to ColorMask Layered mode.
or
- navigate to the frame you want to use for the ColorMask Layered scene
- press the Add2Scene button. A new ColorMask layered scene named “newScene” with this frame is created.Note !! If a scene “newScene” already exists the frame is added to that scene. You may change the name of the scene to avoid this.
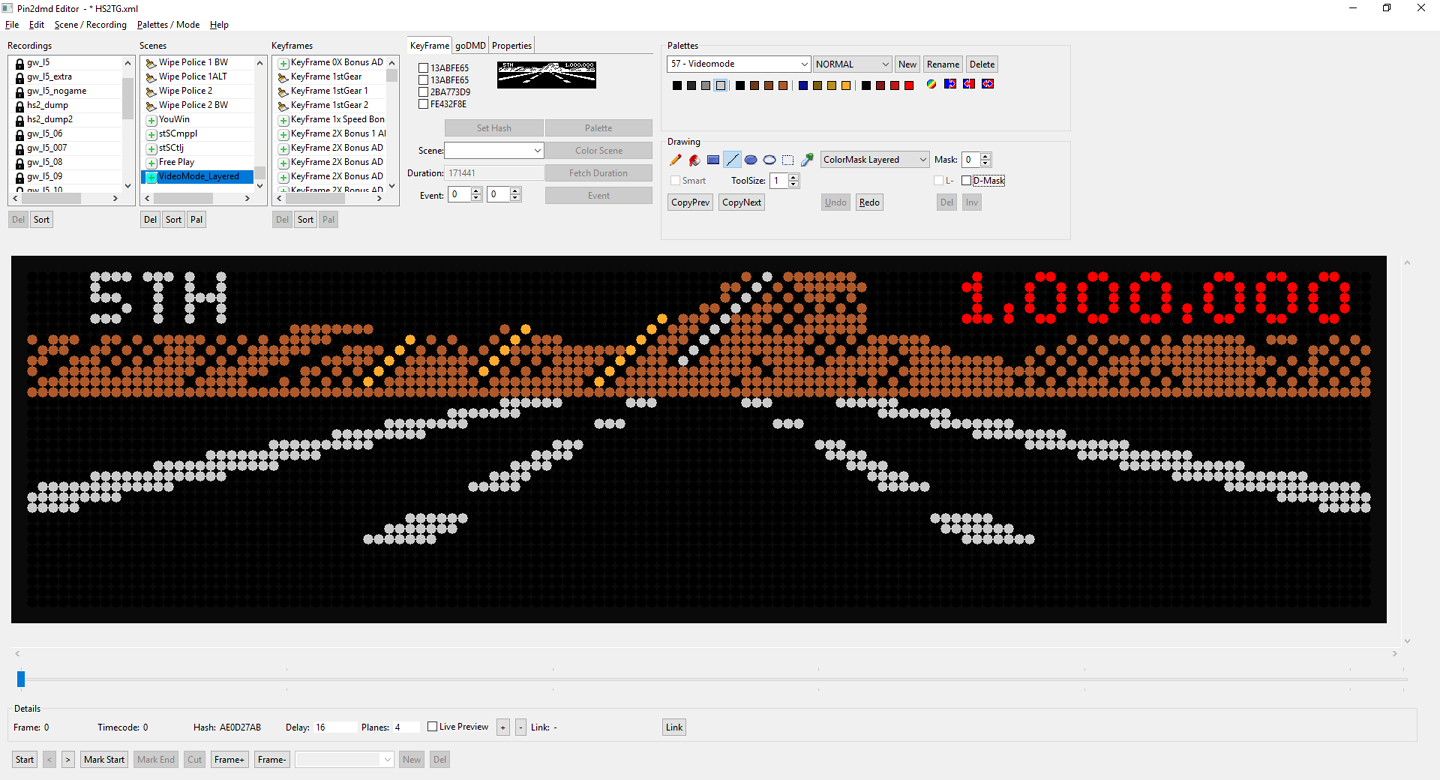
Now colorize the object for this frame. In our example the mountains and the score
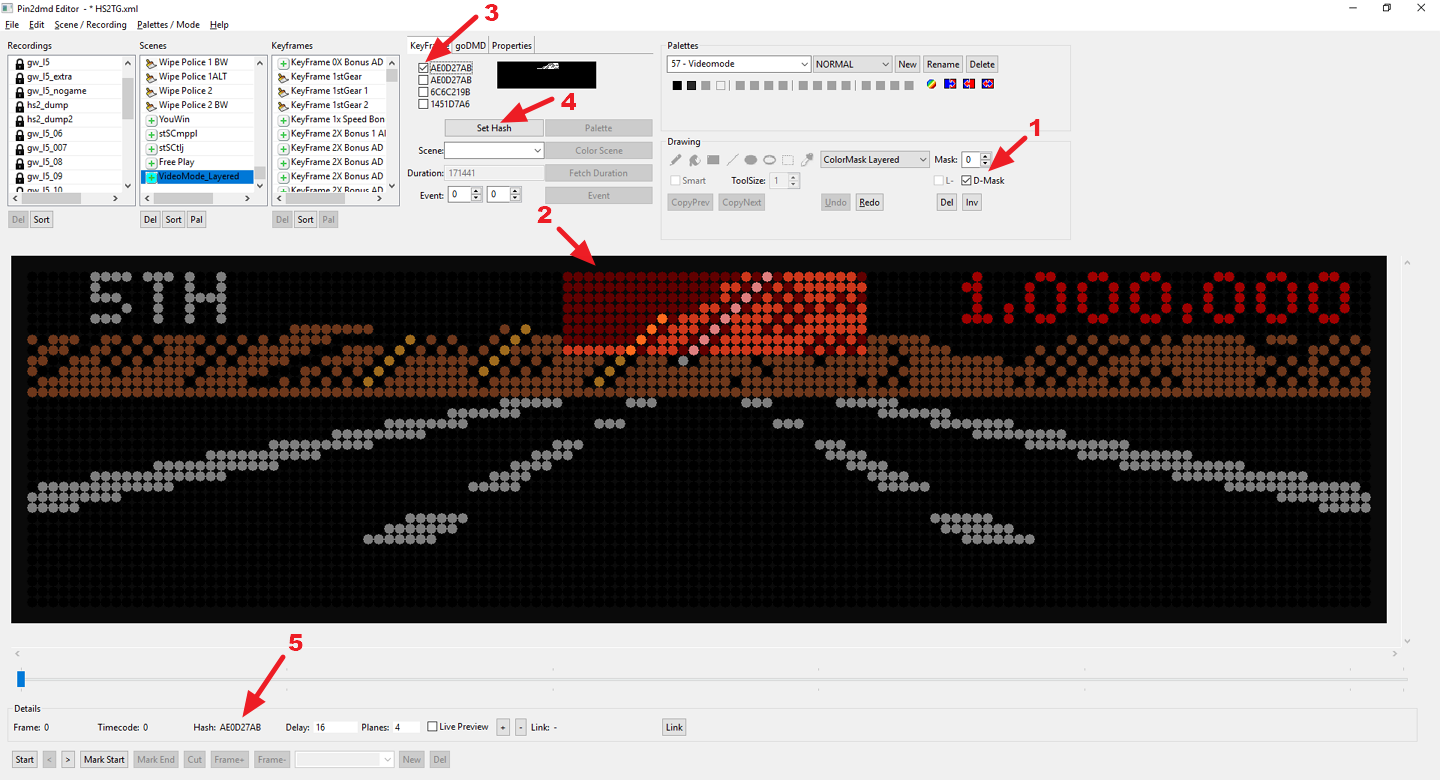
The next thing you have to do is to assign a hash which only triggers the part colorized. You do this by creating a suitable detection mask. ColorMask Layered scenes have 10 detections masks which are specific to this scene and only trigger when this scene is active. Do the following to assign a specific hash for the object:
- enable D-Mask
- draw a Mask which only triggers for the part colorized
- select a hash
- press “Set Hash”
- check the hash assigned to that frame
Now we add a frame with the players car in the picture to the scene. There are two ways to add a specific frame to the scene:
1. Copy and Paste
- search for a frame with the players car in the recordings and press CTRL-C
- create a new frame in the scene with the “Frame +” button
- press CTRL-R to replace the newly inserted frame with the frame from the clipboard
2. Use the Add2Scene button
- make sure your scene is named “newScene”. If necessary rename it.
- search for a frame with the players car in the recordings
- press the Add2Scene button
- the frame should be added to the scene “newScene”
Now colorize the car, create a mask and assign a hash like above.
*The biggest task is to create and use your mask as clever as possible that they can be reused while still being unique and don´t interfere with other object which should be detected by other masks
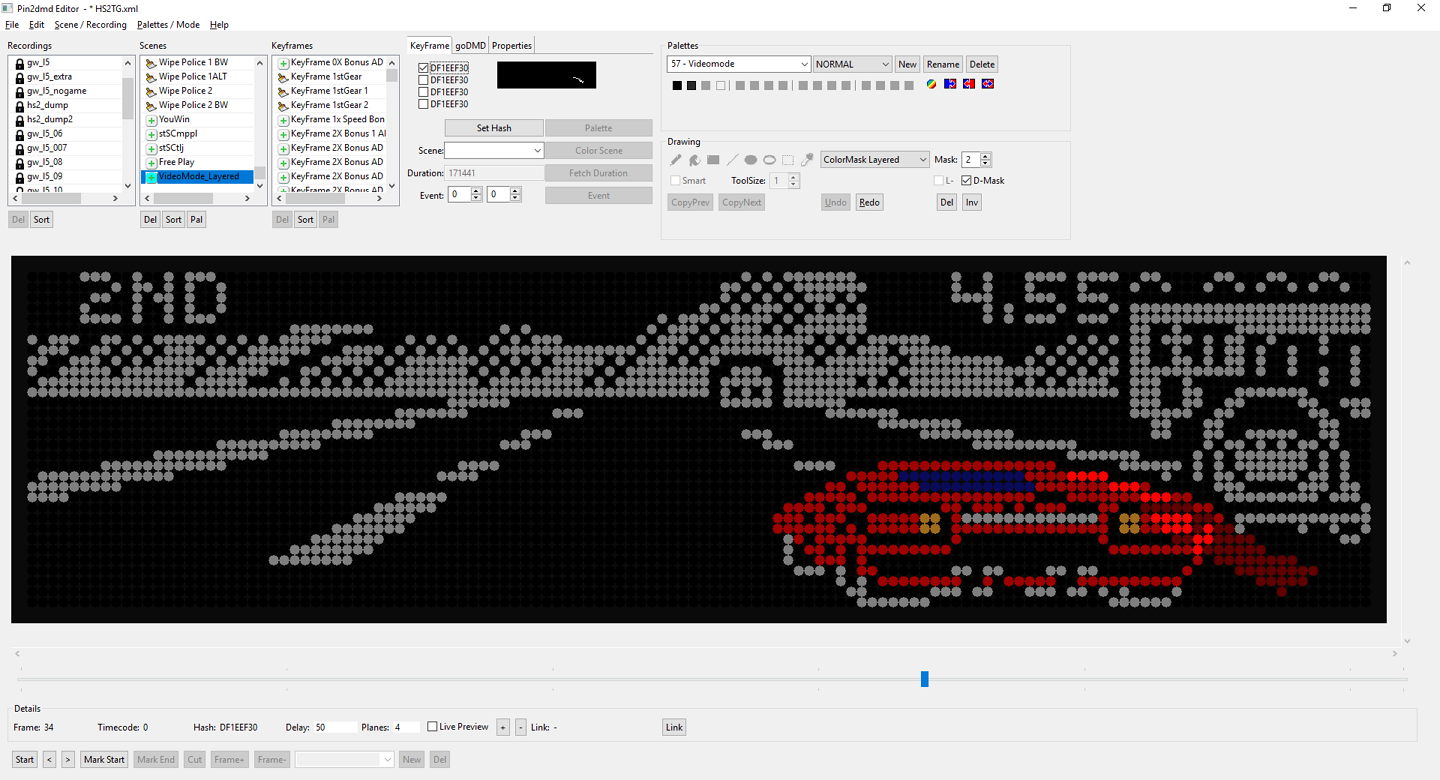
Do the same for the approaching vehicle.
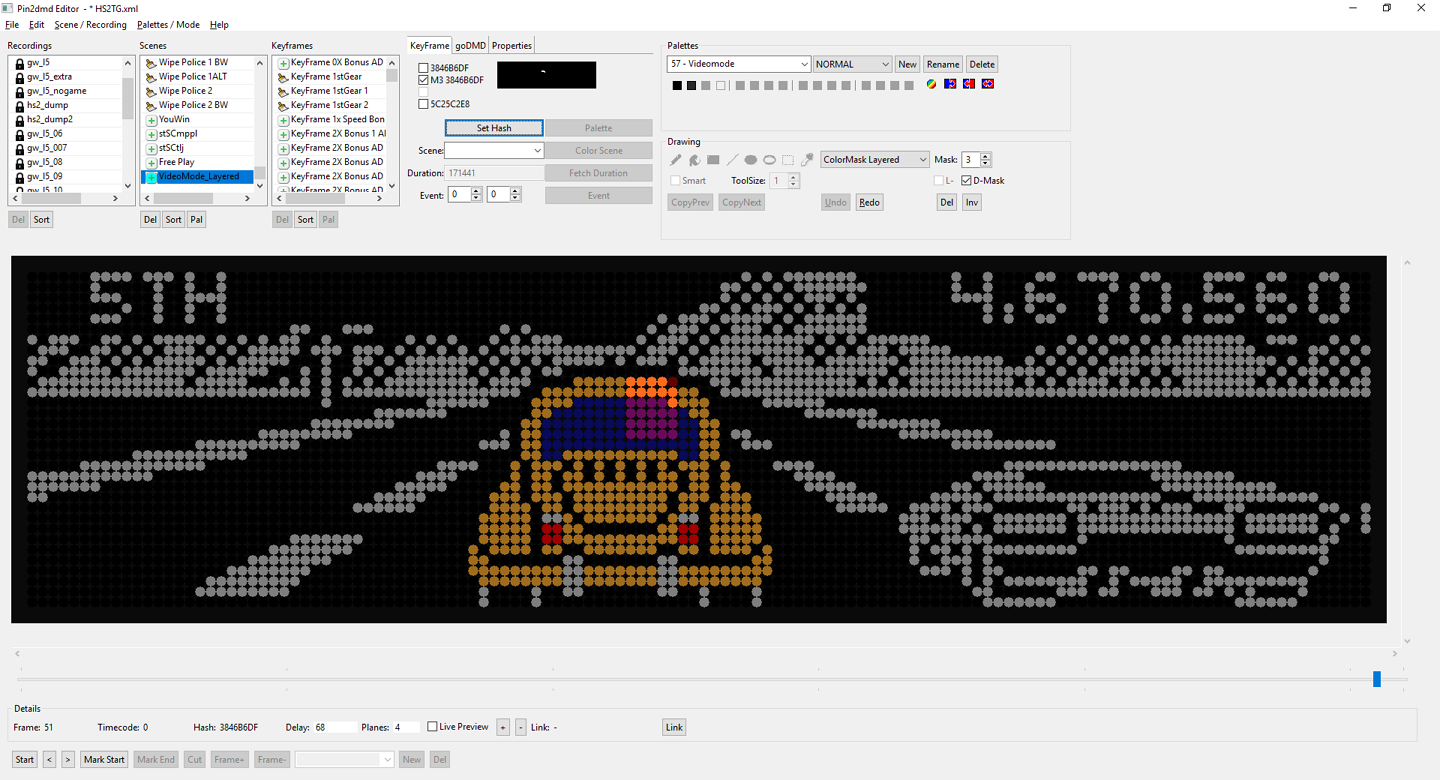
Repeat the above steps for every possible position of the object. For example for the players car there are about 45 positions. If a postion of an object is missing you may add it at any time in the future.
We now only need to assign a keyframe to the scene, which loads all masks and hashes of all objects in the scene. We selected the first plane of the first frame which contains only the street without any other object (look at the hash preview window). This pictures is only shown in the beginning and does not appear in any of the following frames.
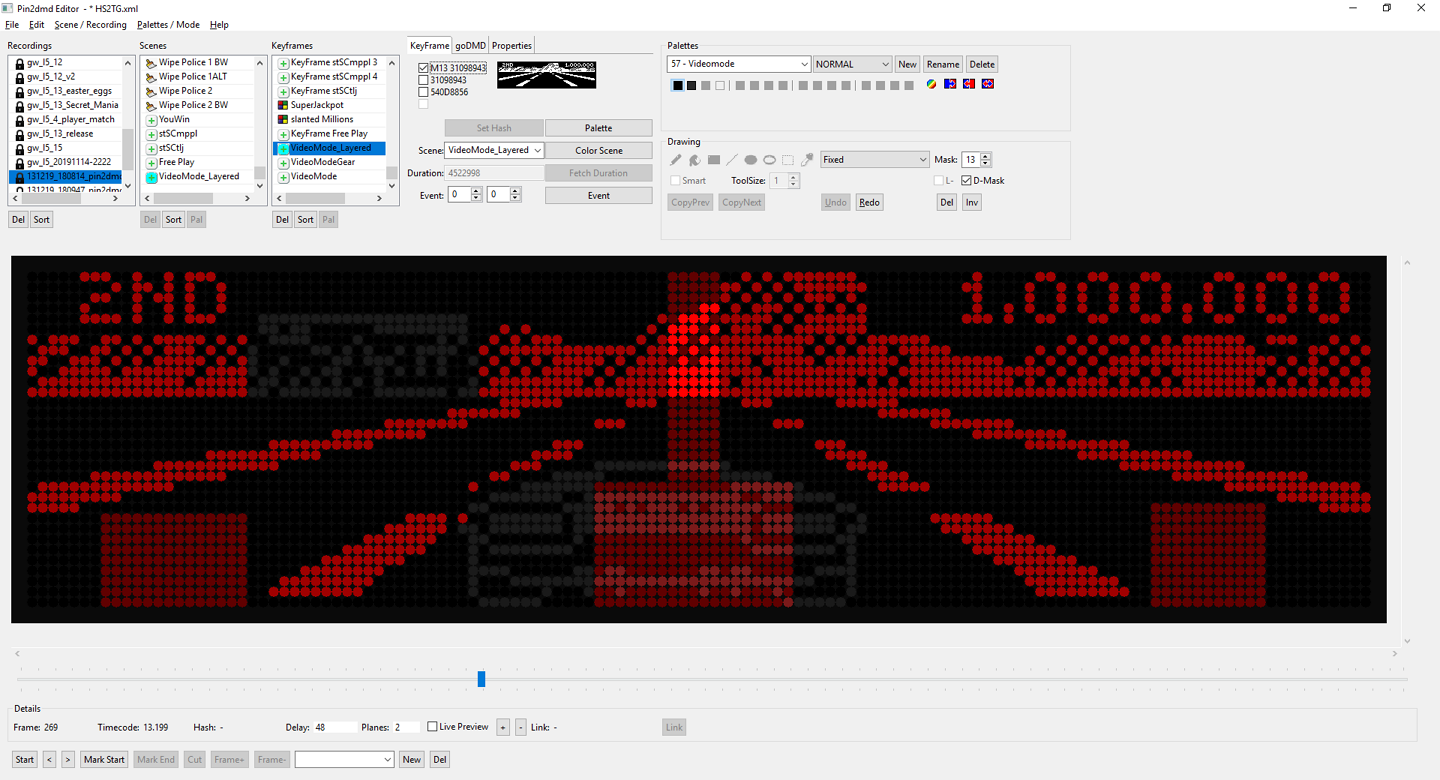
If everything is fine you should see pictures like this in the end