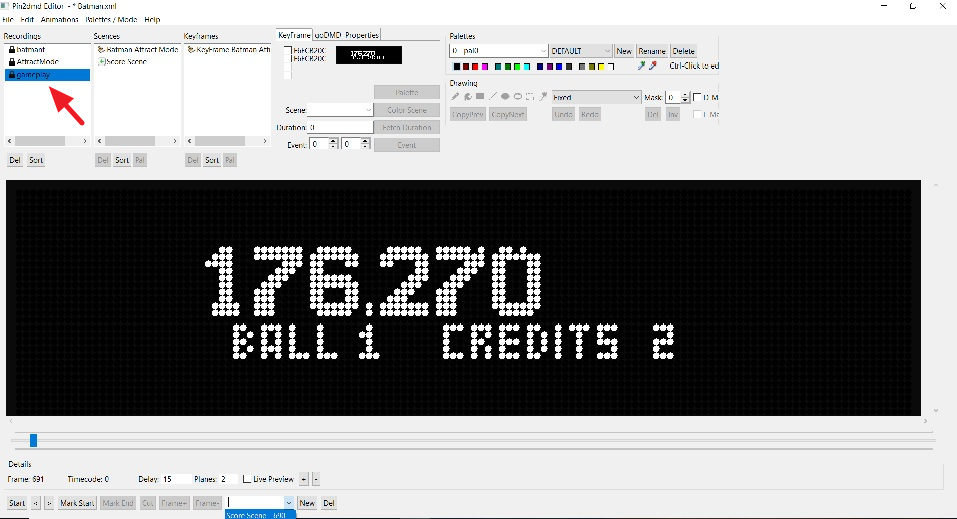
Let’s start with highlighting our recording “gameplay” and selecting the basic “Score” scene. Every game has one and it can be a challenging scene to color. The “Batman” score scene is pretty basic and should be a good one to start with. In the case of the score scene you only need to cut 1 frame. Since the score is constantly changing what we are going to attempt to do is color mask “areas” of the scene .
Hint: Single Frame Colormask Scenes either stay until the next keyframe triggers or for the time defined in the “Delay” field. Whatever comes first. If want to keep the colormask stay longer , e.g. to colorize transition frames, just enter a higher value in the Delay field and press “Enter” to save the new value.
A couple things to remember: make sure the scene is defined correctly and remember that a dynamic scene can never be placed into “Replace” mode you will ALWAYS use ColorMask mode.
In “ColorMask” mode all tools work like with the smart option enabled in “Replace” mode, which means the shades from the original recording and mapping are preserved and are only changed to the respective colors of the selected color group. While you still have 64 colors available the usage of each color is limited.
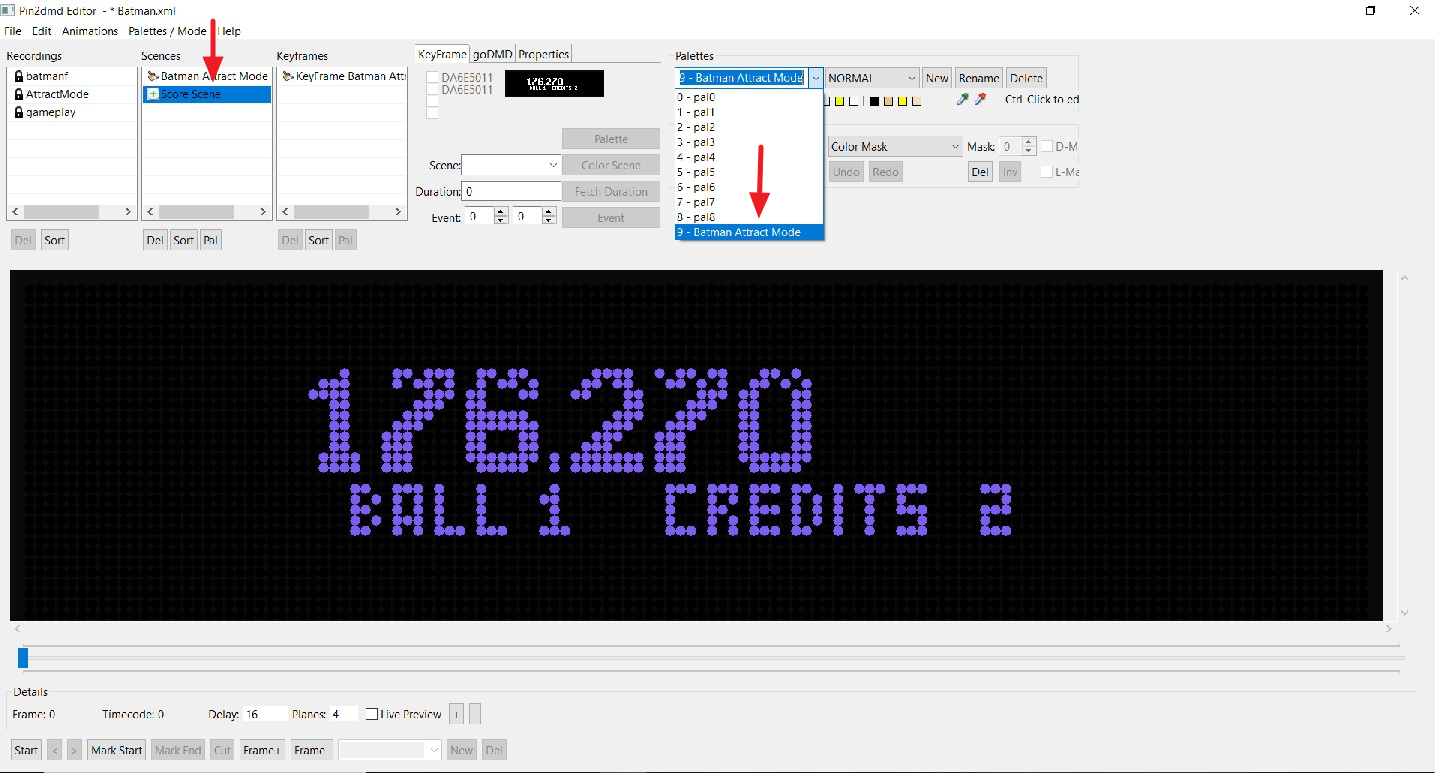
Let´s first highlight the “Score Scene” that we cut and and assign a palette.
You’ll notice that once you set your palette the color changes, our challenge in this example is that there is only one color available which will limit our options when coloring.
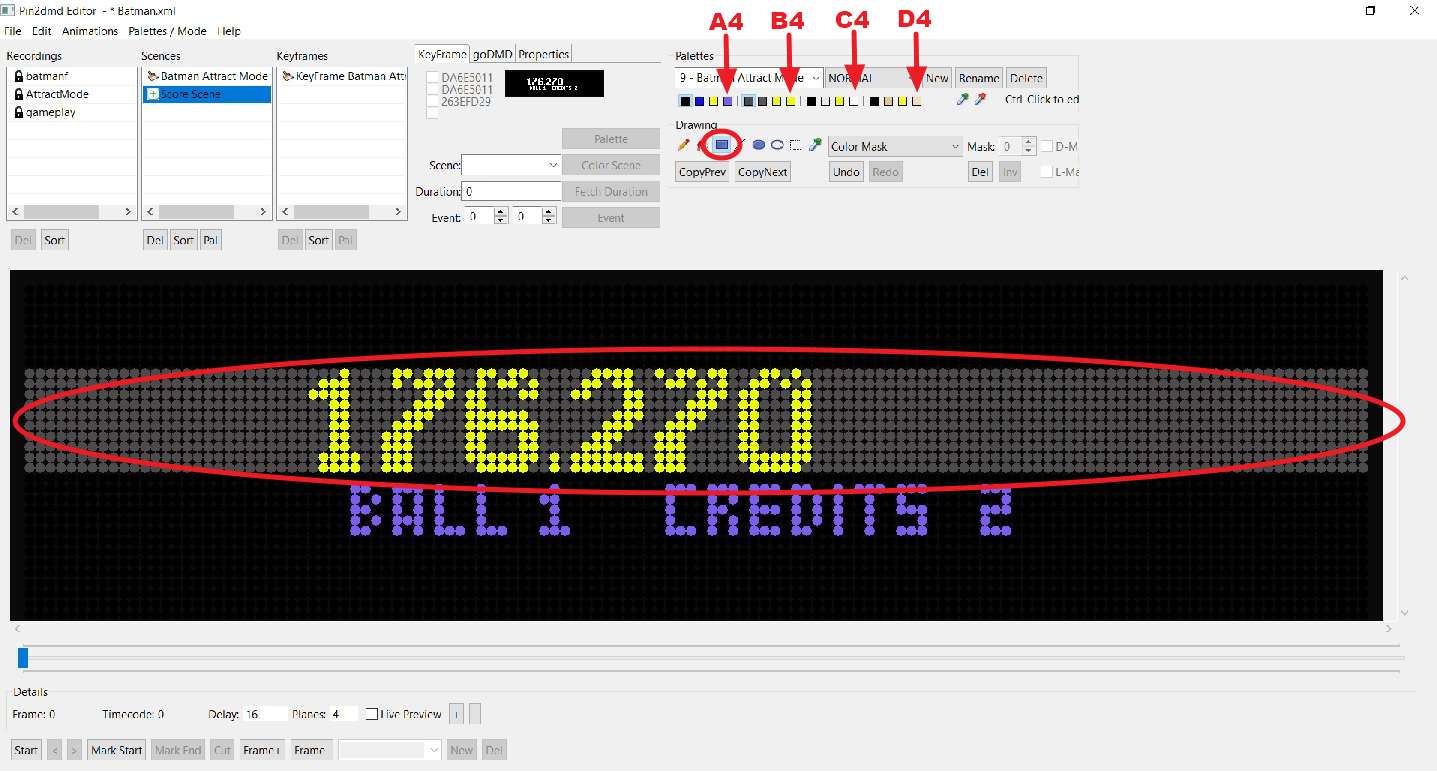
So with this scene being all one color, it means that we only have 4 alternative color options to use in 16 color mode or 16 alternatives in 64 color mode. The scene uses color “A4” by default so remember back to the tutorial on color mask mode and we know that we have available to use colors “B4”, “C4” ,“D4” etc. I’m using color slot “B4”. If the recordings of the project is from a pinball machine which uses 16 shades you have 4 alternatives in 64 color mode.
So what we want to do here is create a “color mask” for an area. In this example I lightened the color in slot “B1” for effect so you can see I “color masked” the entire area where the score will display. The reason you wan’t to color this entire area is that the score will be constantly changing and growing so by coloring the whole area we will be covered know matter what the score is.
*I used the “rectangle” tool for efficiency
Now that I got the score area colored as I like I’m going to color the “Ball” info to break up the monotony. In this example we use color slot “C4” which is white. Again we color the entire area where “Ball 1” is. We know that this display will only ever say Ball 1, 2 or 3 so you do not need to color much more of an area than what is displayed here. We leave the “Credits” as is but if you wan’t to color remember that this area will change the more credits you add for instance if you had 10 credits the whole text will shift to the left so account for that in the area you color.
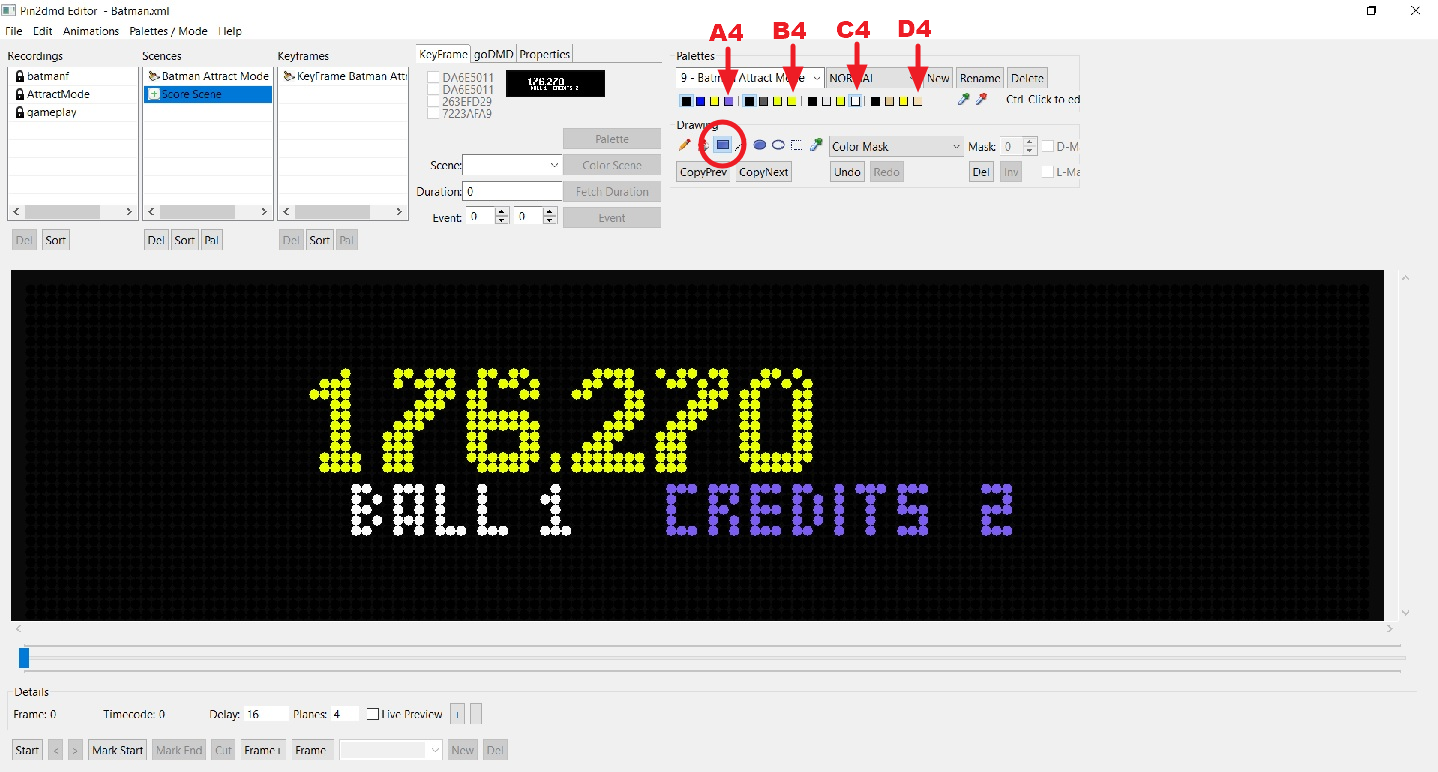
Now we have added our color masks and not changed any of the original data. We are ready to Key-Frame!